

Hey there! As a supplier of copper wire connectors, I've seen firsthand how important it is to crimp these connectors correctly. A proper crimp ensures a strong, reliable electrical connection, which is crucial for the safety and performance of any electrical system. In this blog post, I'll walk you through the steps of crimping a copper wire connector correctly.
Why Correct Crimping Matters
Before we dive into the how-to, let's talk about why getting the crimp right is such a big deal. When you crimp a copper wire connector onto a wire, you're creating a mechanical and electrical bond. A good crimp will hold the wire securely in place, preventing it from coming loose over time. This is important because a loose connection can lead to arcing, overheating, and even electrical fires.
From an electrical perspective, a proper crimp minimizes resistance. Lower resistance means less power loss and more efficient operation of your electrical devices. So, whether you're working on a small DIY project or a large industrial installation, taking the time to crimp your connectors correctly is definitely worth it.
Tools You'll Need
To crimp a copper wire connector correctly, you'll need a few essential tools:
- Crimping Tool: This is the most important tool for the job. There are different types of crimping tools available, including manual and hydraulic ones. Make sure to choose a tool that is suitable for the size and type of connectors you'll be using.
- Wire Strippers: You'll need to strip the insulation off the end of the wire before inserting it into the connector. Wire strippers come in different sizes, so make sure to choose one that matches the gauge of your wire.
- Measuring Tape or Caliper: This will help you ensure that you're stripping the right amount of insulation off the wire.
Types of Copper Wire Connectors
There are several types of copper wire connectors available, each designed for specific applications. Some of the most common types include:
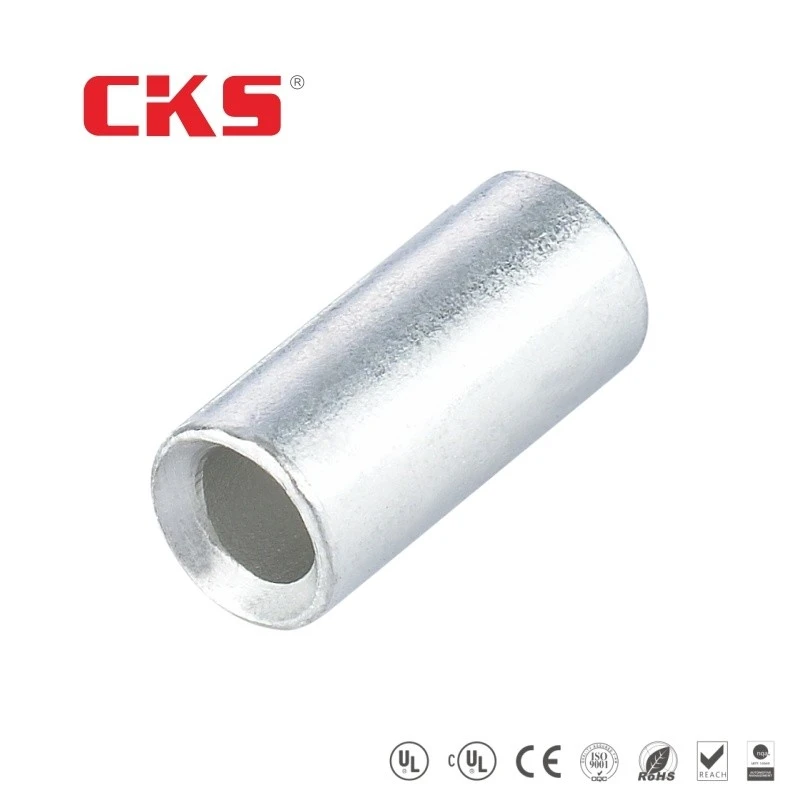
- Butt Splice Connectors: These connectors are used to join two wires together end-to-end. They come in different sizes and styles, including StepDown Window Butt Connector and StepDown Non-Insulated Window Butt Connector.
- Ring Terminals: These connectors are used to connect a wire to a screw or stud. They have a circular ring at one end that fits around the screw or stud.
- Spade Terminals: Similar to ring terminals, spade terminals are used to connect a wire to a screw or stud. However, they have a flat, spade-shaped end instead of a circular ring.
Step-by-Step Guide to Crimping a Copper Wire Connector
Now that you have your tools and you know the different types of connectors, let's get into the step-by-step process of crimping a copper wire connector:

Step 1: Prepare the Wire
- First, measure the amount of insulation you need to strip off the end of the wire. This will depend on the type and size of the connector you're using. As a general rule, you should strip off about 1/4 to 3/8 inch of insulation.
- Use your wire strippers to carefully strip the insulation off the end of the wire. Be careful not to nick or damage the wire strands.
Step 2: Insert the Wire into the Connector
- Once the wire is stripped, insert it into the connector. Make sure the wire goes all the way to the end of the connector and that the wire strands are evenly distributed.
- If you're using a butt splice connector, insert one wire into each end of the connector.
Step 3: Position the Connector in the Crimping Tool
- Place the connector in the appropriate crimping die of the crimping tool. The crimping die should match the size and type of the connector.
- Make sure the connector is centered in the die and that the wire is straight.
Step 4: Crimp the Connector
- Squeeze the handles of the crimping tool firmly until the crimp is complete. You should hear a click or feel a sudden increase in resistance when the crimp is done.
- Check the crimp to make sure it is tight and secure. The wire should not be able to be pulled out of the connector.
Step 5: Inspect the Crimp
- After crimping, inspect the connector to make sure it looks good. The crimp should be uniform and there should be no visible gaps or damage.
- You can also use a continuity tester to check the electrical connection. If the tester shows a good connection, then the crimp is successful.
Tips for a Successful Crimp
Here are some additional tips to help you get the best results when crimping copper wire connectors:
- Use the Right Size Connector: Make sure to choose a connector that is the right size for your wire. Using a connector that is too small or too large can result in a poor crimp.
- Keep the Wire Clean: Before inserting the wire into the connector, make sure it is clean and free of dirt, grease, or oxidation. This will help ensure a good electrical connection.
- Practice on Scrap Wires: If you're new to crimping, it's a good idea to practice on some scrap wires first. This will help you get the hang of the process and improve your technique.
- Follow the Manufacturer's Instructions: Different crimping tools and connectors may have specific instructions for use. Make sure to read and follow these instructions carefully to ensure a proper crimp.
Common Crimping Mistakes to Avoid
Here are some common mistakes that people make when crimping copper wire connectors:
- Over-Crimping: Over-crimping can damage the connector and the wire, leading to a poor electrical connection. Make sure to use the correct amount of force when crimping.
- Under-Crimping: Under-crimping can result in a loose connection, which can lead to arcing and overheating. Make sure the crimp is tight and secure.
- Using the Wrong Crimping Tool: Using the wrong crimping tool can result in a poor crimp. Make sure to choose a tool that is suitable for the size and type of connectors you'll be using.
- Not Stripping the Insulation Correctly: If you don't strip the insulation off the wire correctly, it can prevent the wire from making a good connection with the connector. Make sure to strip the insulation to the correct length and that the wire strands are evenly distributed.
Conclusion
Crimping a copper wire connector correctly is an important skill for anyone working with electrical systems. By following the steps outlined in this blog post and using the right tools and techniques, you can ensure a strong, reliable electrical connection.
As a supplier of copper wire connectors, we offer a wide range of high-quality connectors to meet your needs. Whether you're looking for StepDown Window Butt Connector, StepDown Non-Insulated Window Butt Connector, or Non Insulated Butt Splice Connectors, we've got you covered.
If you have any questions or need help choosing the right connector for your project, please don't hesitate to contact us. We're here to help you make the right choice and ensure the success of your electrical installation.
References
- Electrical Wiring Handbook
- Crimping Tool Manufacturer's Manuals